 The Professor
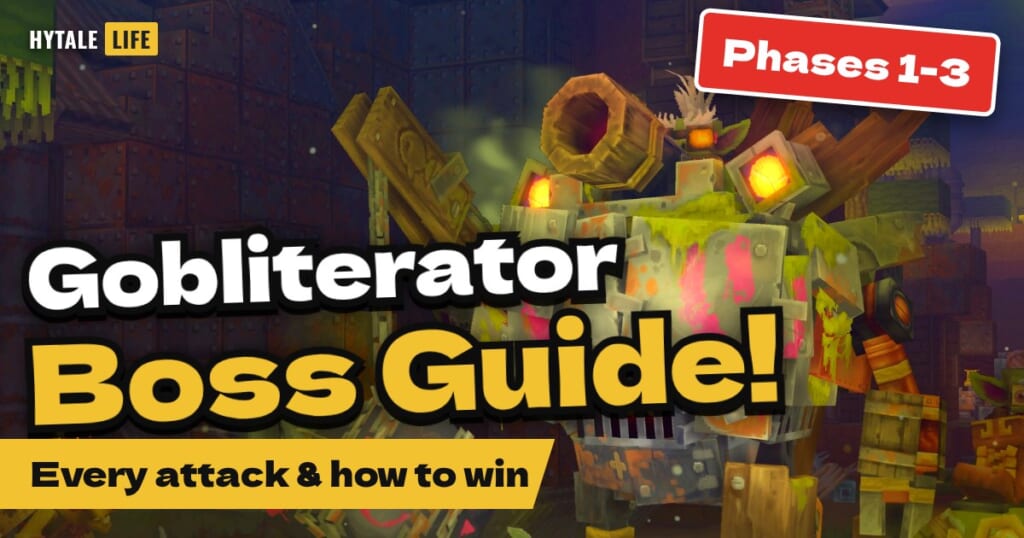
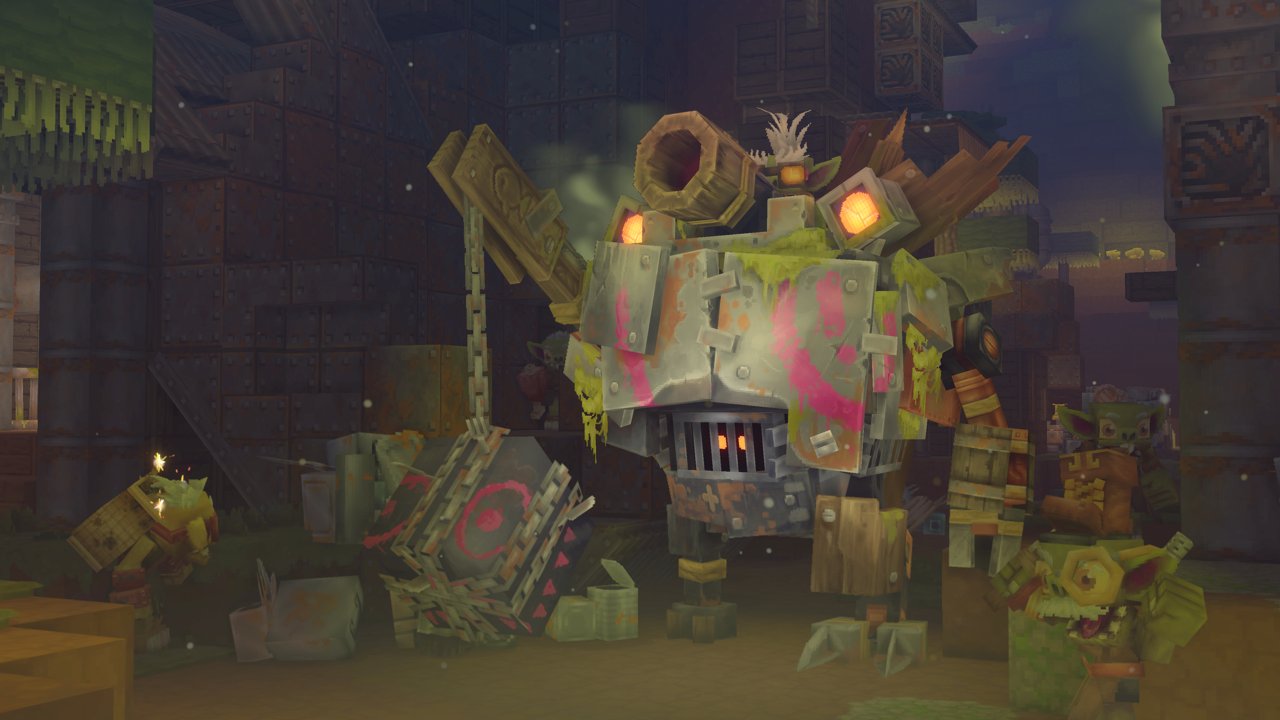
I’m the Professor. Today we’re taking on the new Chapter 1 boss waiting at the bottom of the Deepworks dungeon: the Gobliterator MkIIII!
It’s a giant machine built by goblin researchers, and it hits hard — but once you learn its attack patterns and openings, anyone can beat it. Let’s go through it alongside KeniPoyo’s guide video (in Japanese).
Quick answer: how to beat each phase
📌 The short version
- Phase 1: learn its 4 attacks. After the uppercut, get inside its guard and hit back. The spinning punch can’t be blocked — just run
- Phase 2: dodge the spinning saw and lure it into the bombs in the corners to stun it, then attack. Deal with the incoming goblins using a battleaxe
- Phase 3: focus on dodging. Your damage comes from loading Goblin Barrels into the turret and firing. When the instant-kill attack starts, stop everything and get out
Gobliterator MkIIII basics
| Health | 5,000 (Hard Mode “MkIIII Final”: 9,000) |
|---|---|
| Location | Deep inside the new Deepworks dungeon |
| Phases | Phase 1 → Phase 2 (saw) → Phase 3 (collapsing floor) |
| Guaranteed drops | Gobliterator Core ×1, Voidheart ×1, Runestone Shard ×4, Dubious Assembly ×2, Scraps ×40–60 |
You enter the Deepworks with Fragment: Orbis – The Deepworks (Scraps ×30, Void Crystal Shards ×5, Voidheart ×1). Full stats and the 3D model are in the mob database.
Phase 1: pure brute force
Phase 1 just keeps punching. KeniPoyo thinks Phase 1 is actually the hardest. It has four attacks.
① Uppercut → left/right hooks
You can block the uppercut to negate its damage. Here’s the key: when the uppercut comes, step inside its guard and attack. From there, the follow-up hooks miss you. Don’t be afraid of the punches — dive in.
② Ground slam (shockwave)
It slams the ground and sends out a shockwave. It hurts, but there’s always an opening after the slam. When you see the wind-up, move in, jump over the shockwave, and keep attacking.
③ Exploding missile barrage
It backs off when you approach and chases you when you retreat. Move sideways or diagonally to keep your distance, and land Fireballs when you can.
Where the missiles land stays on fire for a while. Push too hard and you’ll run out of room — during this attack, lead it to an area that isn’t burning and wait for the next opening.
④ Spinning punch (unblockable!)
The most annoying attack in Phase 1. It can’t be blocked and it locks on while spinning. As soon as it starts, get away. If you have the dual daggers’ fast jump dash, use it to escape.
Phase 2: the spinning saw and the bombs
In Phase 2 it pulls out a saw and chases you while spinning, and it even fires the saw blades at you.
- Dodge its attacks while leading it toward the bombs in the corners of the arena
- The bombs explode after a while. The blast hurts you too, so always get clear when they go off
- Catch it in the blast and the Gobliterator is stunned for a while. Unload on it!
Use a weapon that hits several enemies at once, like a battleaxe. As long as you watch out for the goblins and the blasts, Phase 2 is fairly relaxed.
Phase 3: the collapsing floor and Goblin Barrels
Finally, Phase 3. The floor starts disappearing and your footing gets worse, so clear out the remaining goblins before that happens. It has three attacks.
① Flamethrower
Getting hit knocks you into the lava. You move slowly in lava, and it follows up with more fire. If things get dicey, cut across the inside of the circular arena to make distance. Don’t force attacks — staying out of the lava comes first.
② Missile strike
You can see where the missiles will land, so they’re easy to dodge if you stay calm. It’s also your best chance to deal damage in Phase 3, so watch the landing spots and get ready to counter.
③ The instant-kill blast
If you’re inside the area, it’s a one-hit kill. No amount of grit gets you through it. The moment you see the wind-up, forget about attacking and get out of range.
In the game files this Phase 3 area attack deals 500 damage, while the Gobliterator’s other attacks top out at 47.
Using Goblin Barrels
In Phase 3 your damage comes from the Goblin Barrels at the edge of the arena. Think of it like a scrolling shoot-‘em-up: at first, don’t attack — just get used to its attack patterns.
- Carry a Goblin Barrel to the turret and it loads automatically
- Once it’s loaded, step away and focus on dodging (getting caught in the fire while loading defeats the purpose)
- A loaded turret lights up. Keep dodging and wait for an opening
- When the time is right, hop on the turret, aim, and fire!
You can’t fine-tune when it fires, so leave yourself some margin. And if you see the instant-kill wind-up, survival beats firing the barrel.
Hard Mode: “MkIIII Final”
A difficulty lever in the boss room switches to Hard Mode. Its health rises to 9,000 and its attacks hit much harder (Phase 1’s shockwave goes from 47 to 88, for example). Learn the fight on normal first.
What happens when you win?
Beat the Gobliterator and the dungeon is cleared! The clear screen showed cosmetic rewards such as Junk Pilot and Scrap Arcanist gear.

The Gobliterator Core drop is a trophy from the heart of the machine.
Summary
- Phase 1: learn the patterns and punish the openings!
- Phase 2: lure it into the bombs to stun it, and clear the goblins in groups!
- Phase 3: stay calm, dodge, and damage it with Goblin Barrels!
Phase 3 especially punishes rushing in. Get used to its attacks first and play it safe.
Related posts
- Chapter 1 hub
- Gobliterator MkIIII (mob database)
- How to spawn the Voidtaken Grizzly
- All 72 spell rune × support rune combos ranked
Those goblin researchers built quite the contraption… but every attack has an opening. Stay calm and go show goblin science who’s boss!